Product must be created in system before proceeding with any transaction process. The following steps illustrate how to create a product.
Step 1: Navigate to Create Product screen by Main Menu >> Master >> Product Master >> Create.


Step 2: Select Hub Code.

Step 3: Select Owner Code.

Step 4: Populate Product Code and Product Description.
Note: Product Code must be unique.

Step 5: Click Ok button in the top.

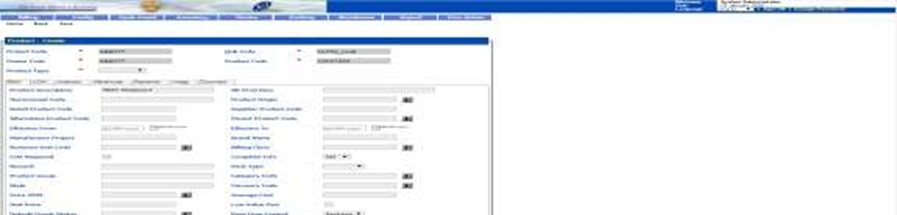
è System will display the Product – Create Detail screen.
Step 6: Select Product Type = FG.

Step 7: In Basic tab, the following information is required. Complete as follows.
1. Complete Info = YES (Otherwise, the product will not be available in system)
2. Billing Class = NN
a. Business Unit Code
b. Product Group (i.e. Product Category, which will segregate the product in batch picking list)
3. Physical Attributes Configuration section
a. Active Indicator = YES (Otherwise, the product will not be available in system)
b. Alternate Product Code (i.e. Abbott Product Code

Step 8: Navigate to UOM tab, and populate information for UOM = CTN/BOX/TIN/PKT/UNIT etc., click Add button.
Note: Conversion Factor = 1.
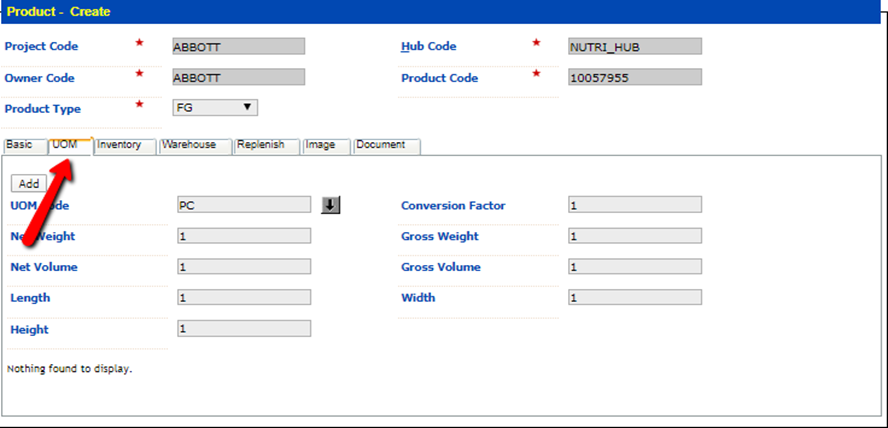
è The UOM information will be added in the table below.

Step 9: Populate the information for UOM = PLT, click Add button.
Note: Conversion Factor here represents number of CTN/BOX/PKT/UNIT/etc. per pallet. Only UOM Code and Conversion Factor are required as the system will auto-calculate the rest based on CTN/BOX/PKT/UNIT/etc. level measurement and conversion factor.

è The pallet UOM information will be added in the table below.

Step 10: Tick the checkbox accordingly.
Note: Select Base UOM = CTN/ BOX/TIN/PKT/UNIT/etc., not PLT.

Step 11: Navigate to Inventory tab and populate the Shelf Configuration information.
Note: Expiry Date Control checkbox should be ticked.
Populate Customer Shelf Life and Alternate Customer Shelf Life the same as Shelf Life.

Step 12: Navigate to Warehouse tab and populate the information as following.
Area Code Control, Storage Class Control and Storage Group Control = ‘Relax Control’,
Product Class = ‘Normal Goods’.
Note: Picking UOM = CTN/ BOX/TIN/PKT/UNIT, not PLT.

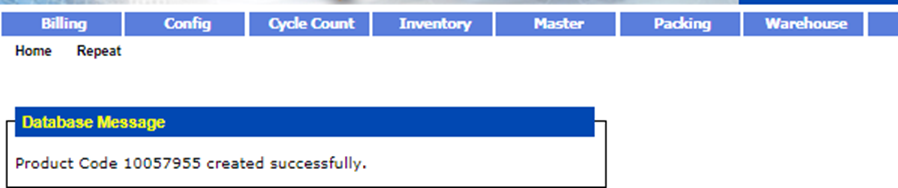
Step 13: Click Save button in the top.

è System will display the create success screen.